On first login (after the site is created), the admin user is presented this setup wizard. All the information can be edit later on, so don’t worry if got it wrong first time.
First step, update business information such as name, logo, and address.
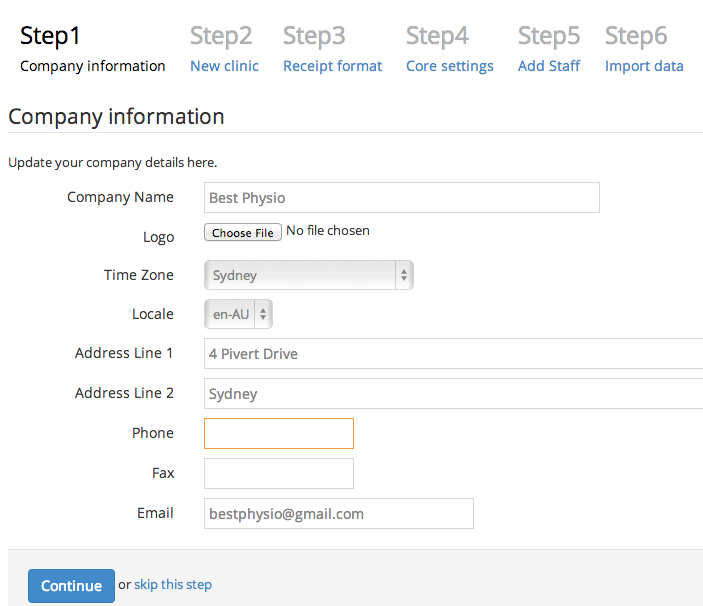
At all wizard steps (except for the last one), you may skip it.
A Practice may have one or more clinics (some call locations). In this second step is to add the first clinic. (You add more later).
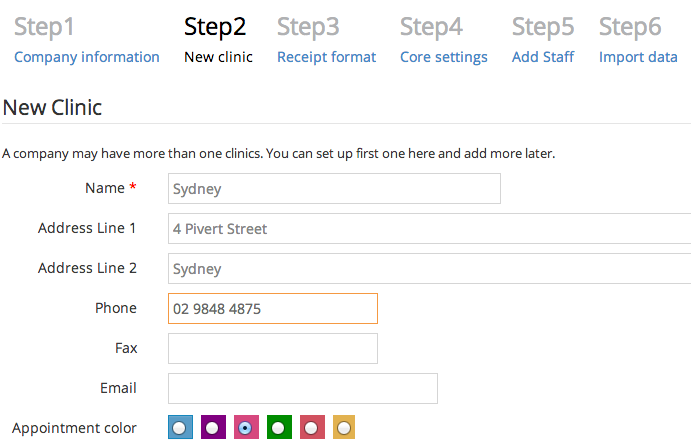
The appointment color is the appointment color for this clinic shown on diary.
By default, the receipt is set to print on A4 paper. The system comes with a couple of receipt templates for choose.

If you have special needs (paper size or format), contact support we will consider creating customised template for you.
The step list several core settings, mostly on pricing and taxes.
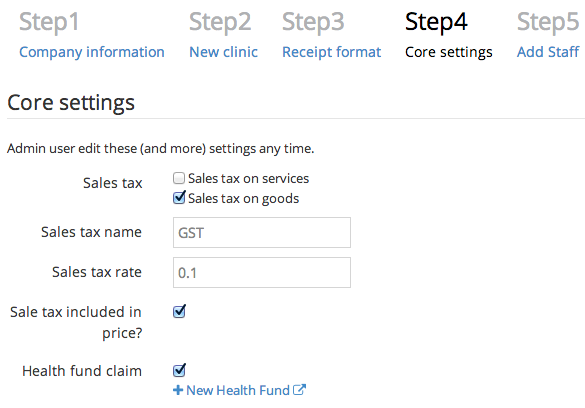
You are highly recommended to review all settings after initial setup. The default values have been selected based on the nature of your business.
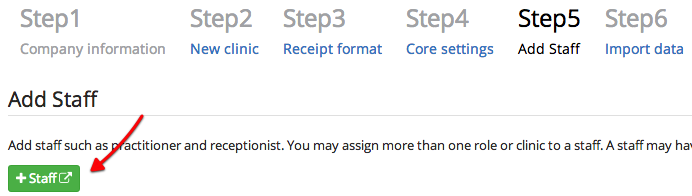
Except from Admin (the only super user), a clinic staff may have one or more the following roles:
If a staff has two roles, he/she may perform any operations permitted by these two roles. Admin may change the assignment of roles to a staff any time, and take effect immediately.
Click ‘+ Staff’, it will open a staff management page on a new browser window or tab. (So you can easily continue the wizard after finishing adding staff).
Click ‘New Staff”
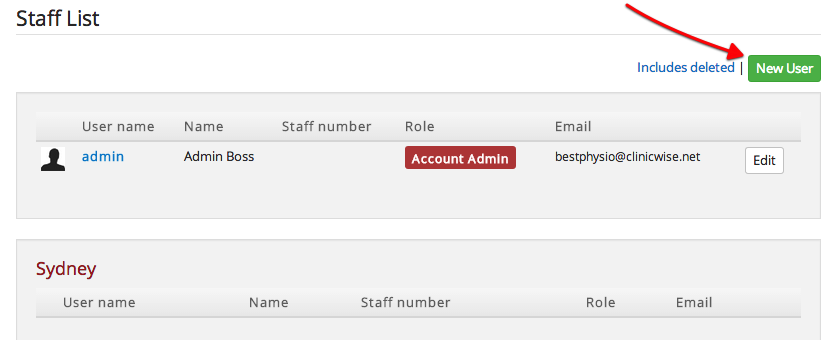
Enter staff user name, password, email (for retrieving password) and roles to create a new user. The number of practitioners is limited to your subscription.
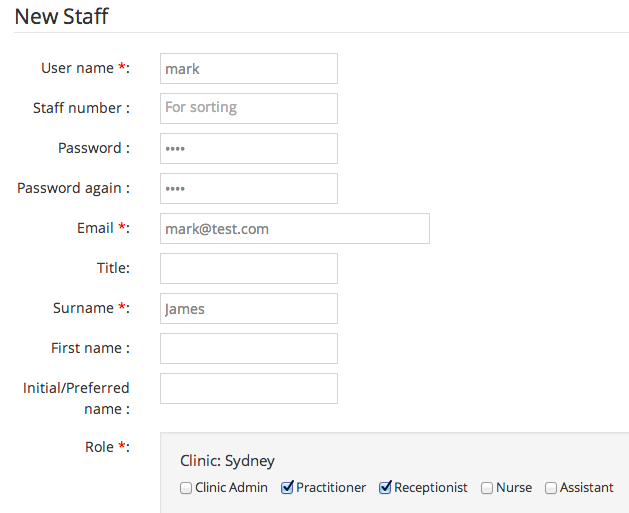
After a new user is created, he/she can log in the system right away.
Our import process requires you to upload a Comma Separated Values file (CSV) containing your data (eg. client records, products and service items).
Over the time, it is common that some data records in the old system are not correct. It is a good time to do some data cleansing, such as
Obviously ClinicWise take the import data as defined format. For example, here are the fields (columns) for client data:
"reference_number", "first_name", "last_name", "title", "name",
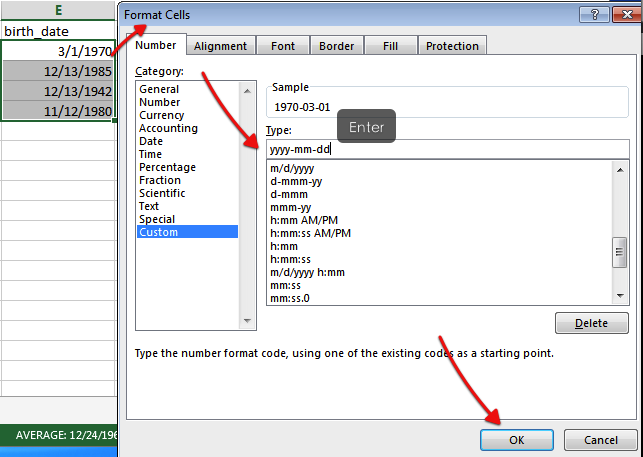
"birth_date", "gender", "is_vip",
"phone", "mobile", "email",
"address_line_1", "address_line_2", "suburb", "state", "post_code", "country",
"medicare_number", "medicare_irn",
"join_date", "referral_from", "occupation", "notes",
"clinic_name", "client_group_name", "private_health_fund_name"
In fact, depending on your data, most of the import work lies here: transforming your existing data into given format, using Excel. When you are done, save it as the CSV file for importing.


Importing process is actually quite easy. ClinicWise has a 'preview' function, which you have chances to verify the data records. If you made mistakes, don't worry, you can request to erase the records and do it again. That's why we provided the trial server.
The below is a screencast showing how to import client records (58 seconds)
ClinicWise Import Clients from agileway on Vimeo.